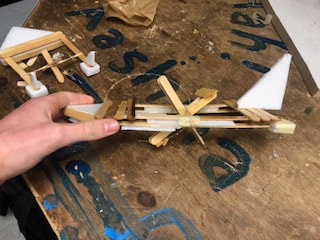
Rubber Band Boat
|

|
Poker Table
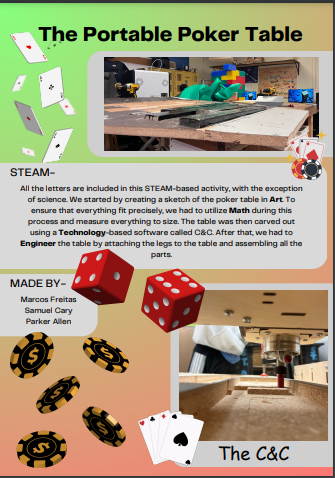
We are creating a foldable poker table. Our table will be able to fold into two half's and the legs will be able to fold into the table because we have imprinted the bottom of the table. We will have felt on the table so that it looks more poker like. All the legs will be painted black and the table and legs are folded using hinges.
Constraints
We have access to limited resources and everything that we need to purchase must go through Mr. B.
The CNC did not work so we needed to manually use it.
The staple gun was broken.
Criteria
We have access to limited resources and everything that we need to purchase must go through Mr. B.
The CNC did not work so we needed to manually use it.
The staple gun was broken.
Criteria
- Required: Updated Gantt chart. The gantt chart should either reflect an up to date or be completed for the original project.
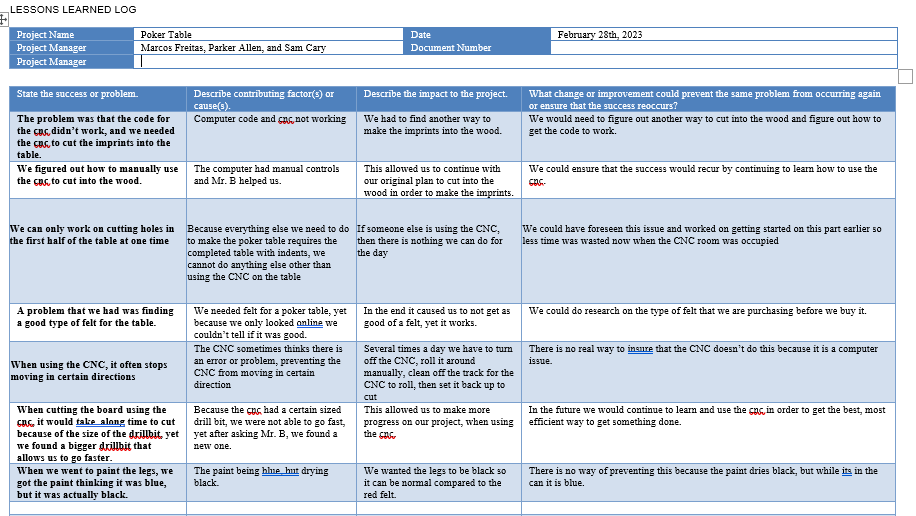
- Required: Lessons learned log.
- A new design proposal or some other sort of research/planning document.
- Background or backstory to a new project or continuation of old.
- New research, references, guides, links, background knowledge, etc.
- Additional text discussing the planning process since the previous check or for the new project.
- An added materials list for a project.
- A list of goals for different weeks.
- Context/elaboration for any documents added.
- Pictures of new work since the previous check for the new or old project(s) that is appropriate for the time available.
- Written explanation of new work since the previous check for the new or old project(s) that is appropriate for the time available.
- Text explanation for what you specifically did in this project.
- Discussion on challenges and setbacks.
- STEAM Symposium flyer, info or pictures from.
- Anything else (text, pictures, etc) that helps tell the project’s story.
- An appropriate amount of project work completed for the time available. Exceptional amount needed for 35/35.
Gant Chartt
This is our gantt chart where we have the original scheduling for when we want to finish working on different parts of our project.
Materials List

This is our materials list, along with the prices and links to where you can purchase them. We needed to purchase fabric, in order to put onto the table, we needed to order hinges to have the legs folding in and the table fold across, and everything else we already had.
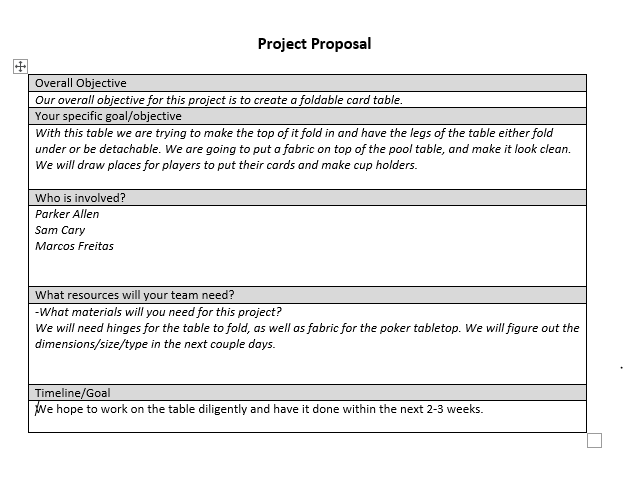
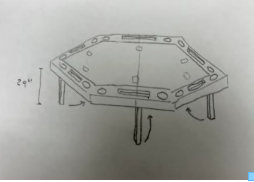
Design Proposal
|

|
Background
At first we didn't know how we wanted to construct the table, as well as not knowing how to have it fold. We researched folding poker tables to look at the shapes and designs and decided to make a hexagon shaped table that is roughly 3 feet off the ground. We originally planned to program the cnc to cut the imprints into the underside of the table so that the legs could fold in when the table folded. Yet when we tried to use the code it didn't work; we decided to use the cnc to cut it, but instead of using code, we manually moved it. Because it has taken some time to get the hinges we knew we had to finish the imprints and legs so that we could start putting the table together as soon as we got the table.
Planning
In order to plan for our project we had to figure out multiple things.
1. Whether or not to make the table foldable?
We decided that we would have the table fold in and we would do this using hinges.
2. How to have the legs fold in, or do we just have them detach?
We decided to have the legs fold into the underside of the table so that once folded it will all fit together.
3. What wood to use, and how to cut the table top?
We found a old table, with a circular table top, and after asking permission we decided to use that as our table top.
4. How do we finish the table?
We decided to use felt on top of the table to make it better looking and more professional.
5. How do we make the legs more stable?
In order to make the legs more stable we have decided to put braces on the legs when we fold them up.
6. How do we get the felt attached to the table?
We decided to use a staple gun to staple the felt to the table.
7. Do we need a handle for the table? and how will we make this?
We decided that we wanted a handle for the table, we used leftover felt, doubled it up, and screwed it onto both sides of the table so that there are two handles when you fold it in half.
8. Do we leave any air under the felt?
We left a small bit of air under the felt, because there are some holes in the table and with the slightly looser felt, these holes and bumps wouldn't be as easily noticeable.
Building Process
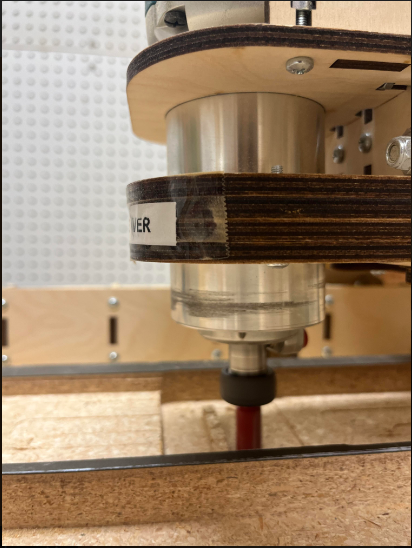
This is us using the cnc router in order to cut imprints into the table. These imprints are going to be the area that the legs will fold down into when the table folds in half.
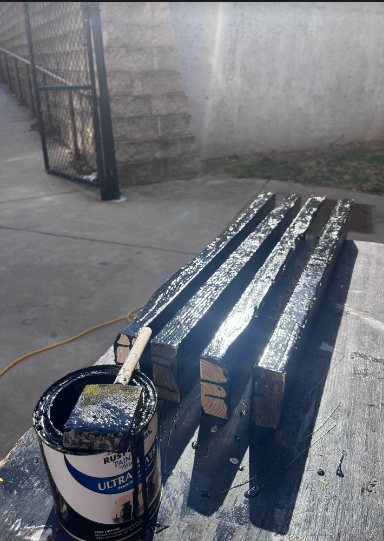
This is a picture of the legs of are table as they are being painted. We decided to paint the legs black so that they would go with the black felt when we finish the table.
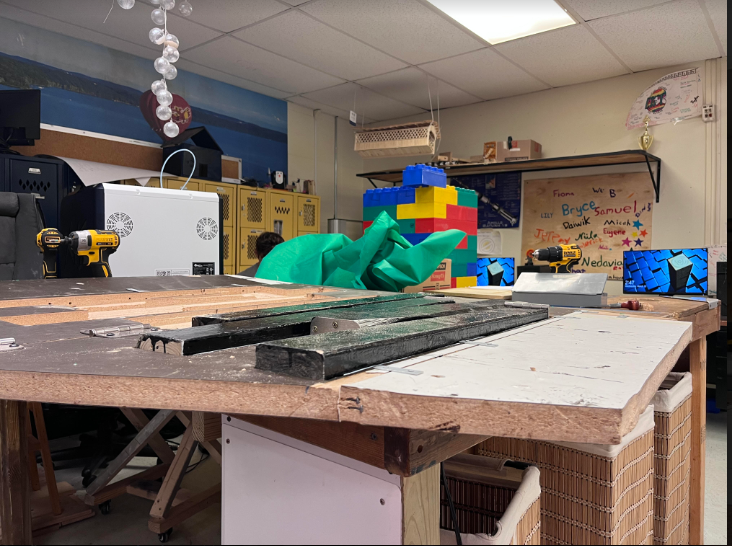
The picture on the right is right after we finished cutting the imprints into the table. From this point we put the hinges on the legs and were testing to see if the legs fit.
|
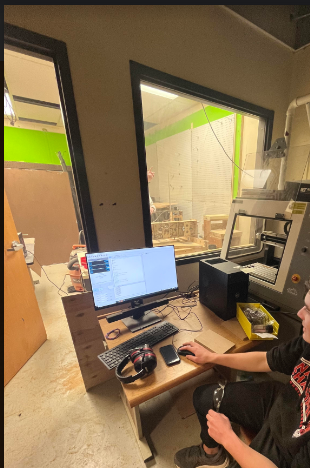
This is us manually controlling the cnc router, because the g-code wouldn't work with our table top, so we needed to find another way to cut, and we ended up manually controlling the router.
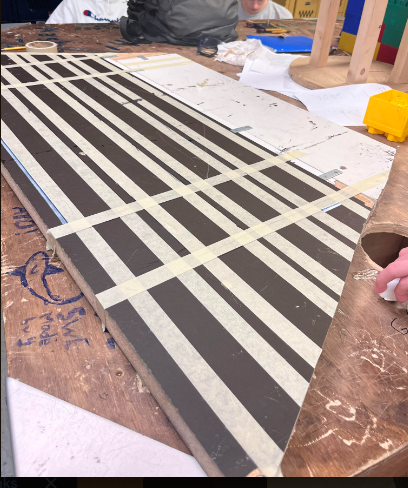
This is half of our table top before we cut the imprints into it. We used the tape to get straight lines so that when we cut the imprints into the table we would know where we needed to cut. After this picture was taken, we used a sharpie to get straight lines along the edges of the tape, and then we took the tape off.
|
Our building process is represented in these pictures. The first thing that we did was cut the table in half. From there we needed to measure out where we needed to make the imprints into the table, we did that by lining it up with tape and marking alongside the tape. Next we cut and painted the legs. This process took us about a week and a half, because we wanted to make sure that the measurements were exact. From there we began imprinting into the table. Using a cnc router, we manually controlled it and cut into the bottom of both table halves. We put four cuts into both sides of the table so that they would line up exactly, we left little room so that the legs could fit and fold up and down in these imprints. This process took us three weeks to finish the routing due to the slow pace of the router. After we finished cutting we put the hinges on the legs and attached two to each half of the table. We also put the felt on the table top. While putting the felt on the table, the staple gun that we had was not working well and we would get one staple in every five tries. We finished putting the felt on the table and noticed that there was some air under the felt, because of this we took out the staples and reapplied the felt. This process took us three days because we had limited staples and needed to get more. After this we put the two halves together and created handles on the sides of the table so when you folded it up you could hold it.
Steam Symposium Flyer
Finished Project
|

|
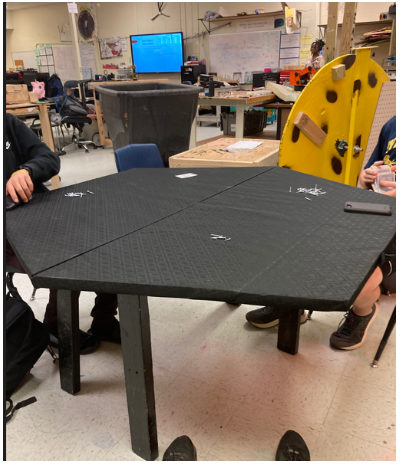
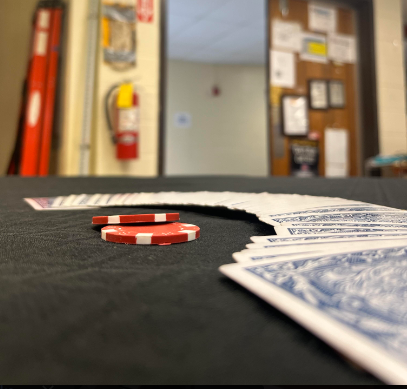
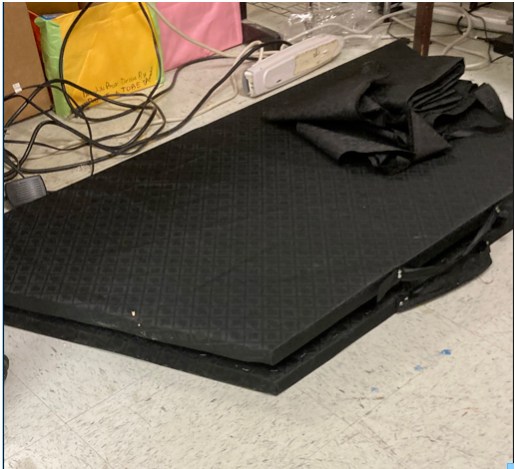
These are pictures of the table once it has been put all together. On the left it shows the table unfolded with people playing cards on it. The picture on the right shows the table when it has been folded in half and is able to be put away for storage.
Testing/Evaluating
What Went Well: The table top ended up looking really nice. The felt remained tight and the staples worked well to hold it on. The handles on the sides of the table stayed strong and will still hold the table.
What Did Not Go Well: The legs on the table were not very sturdy. Also there was very little thickness in the area where we screwed the legs in so they came off easily.
What We Would Do Differently: If we had to do this project again, we would make the legs screwed in to a thicker part of the table so that the screws did not come out as easy. Also we would make the legs bigger so that the table would be more sturdy.
